Carol: A Coral Ring
I love rings and I especially love coral. I was fortunate that I found a lovely oval coral cabochon for a decent price — you would not believe how expensive coral has become. I knew exactly what I wanted to do with this cabochon, so I don’t have a sketch for you.
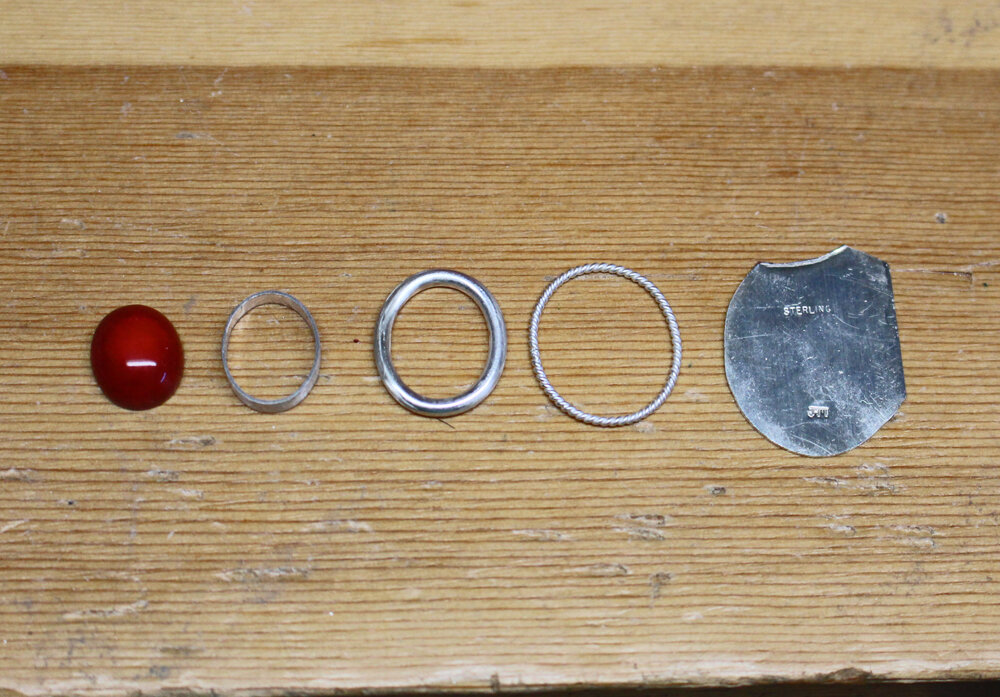
Below is a picture of all the components that go into the setting of the stone: the sterling silver sheet that will be the bottom of the setting, the bezel that will hold the stone, the two decorative wire elements that will embellish the stone by encircling it.
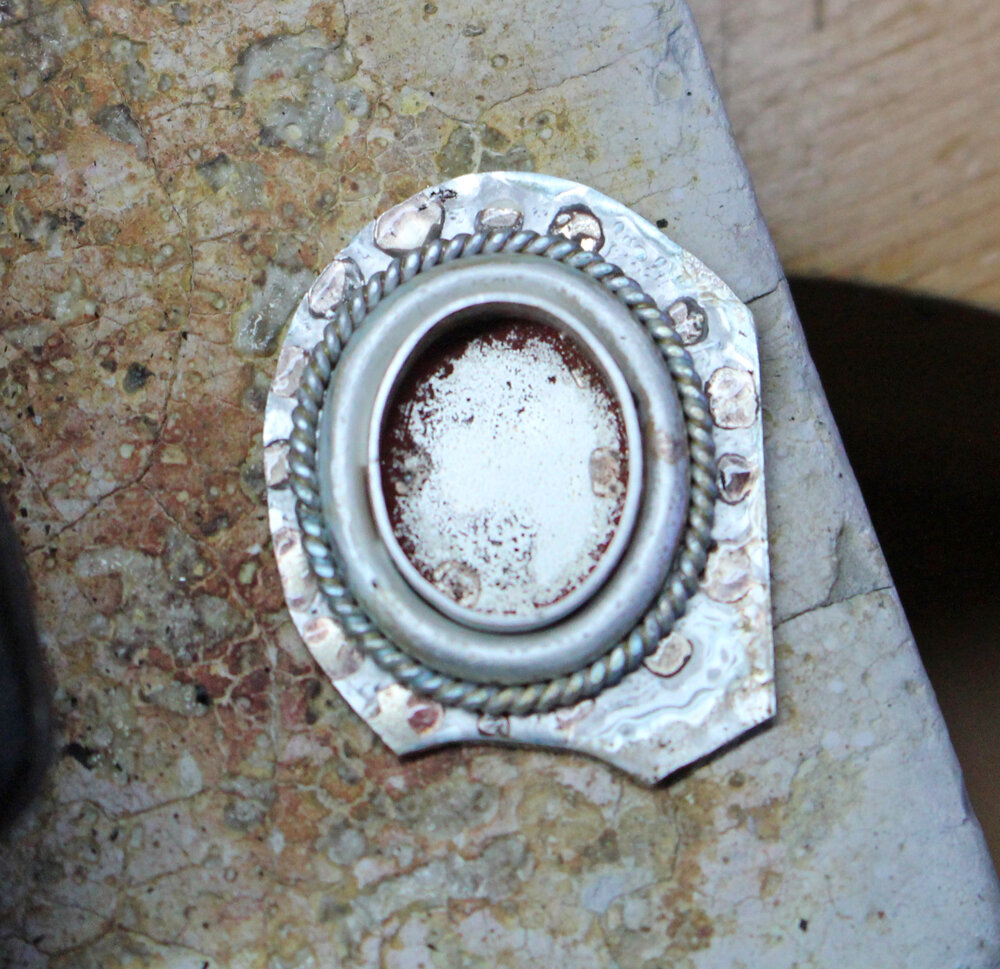
In this case, I can solder all the elements together in one shot. That doesn’t always happen. Below is a picture of the setting right after I soldered it altogether.
It’s kinda funny how ugly jewelry is when it is being fabricated. After I inspect the soldering job to ensure the setting is properly soldered, I saw and then file around the edge, making a nice clean edge. I then begin sanding the setting so that I will spend less time polishing it. Now I turn my attention to the shank, i.e, the part of the ring that will encircle the finger. I decided that the shank would be composed of two pieces of square wire, soldered together in strategic places. The photograph below shows the shank and the setting (with the coral stone) prior to soldering the two together.

Once I solder the shank to the setting, I then clean up the soldering area, sand the entire ring, do an initial polish, set the stone, and then final polish. Here’s Carole right after I finished her.
